This is how it's all settling in. Should have had a control of some sort to see if the Aquaponics helps with growth. The look healthy enough though but it all looks kind of small.


These are the seeds I threw in.
09/06/2013


 The basic idea is that you use a pipe reducer (although we are expanding) to increase the surface area of water flowing into the standpipe. This causes a Bernoulli effect (so Affnan says) which effectively means that the siphon can be started with less water flowing. The part I am using here is a 3/4" to 1 1/4" reducer. Why this is all still in imperial beats me.


 |
| source: http://aquaponicshowtodiy.landscapeideasandpicture.com/aquaponics-systems |
 Now ideally you would get bit closer to what he has in the video but I was trying to do it in a weekend and not have to order stuff in, in practice that probably would have been cheaper, easier and quicker, but who knew. I already had a pump for my pond so I was sorted there, definitely not the perfect pump for this but will do the job. With all the parts assembled (and still not quiet believing it would work at all) I tried it just holding the pipe filling the tank and low a behold it did actually work.
 It did not. The water seemed to be constantly flowing out of the pipes. I played around with my siphons and realised that the siphon was never actually stopping. You see when I had been trying it I was only filling it up to the point where it stopped siphoning and then moved the pipe back into the pond, so the siphon was never running while the grow bed was filling. With the water coming in from the pump constantly there was enough to keep up with the siphon at the end once it slowed as it reached the bottom of the grow bed. This mean that the siphon never disengaged and it would constantly trickle out. Now I figured a hole above the main intake holes would sort this out but I needed some confirmation. I did some googling and found this very useful document regarding siphons, thanks to U of Hawaii. Now this document is great for explaining how to make a siphon. One of the things mentioned is a snorkel. Now you may have noticed, as I did, that there was no snorkel in the video, but there is a small how drilled above the other holes which serves the same purpose.


 The next treat we had was beer BBQ'd roast chicken. The idea here is that you take a beer can with some beer in it, sit the chicken on the beer can and roast it. Do your usual with the chick seasoning wise. The beer flavours the chicken so keep that in mind when you pick your beer. You end up with the best chicken you will ever have ever.


 Once you have them all nice and clean you need to add your priming sugars. The intention here is the let the remaining yeast in your beer consume the the sugar producing (a small bit of) alcohol and most importantly CO2. As your bottles are now airtight as the CO2 is produced it will be under pressure and will be forced back into the liquid giving you a nicely carbonated beer. The amount of sugar is largely dependant of the size of the bottle. You can get sugar drops from any of the brewing sites to help getting the amount right. Another option is to prime all your beer at once but adding the sugar to the fermenter or siphoning the beer into a bottling bucket and adding the primer to that. The ensures that all your beer is primed evenly and if you do not have the sugar drops is it much easier to weigh out the total amount as opposed to the amount per bottle.


 First thing to do is to fill up your sink with hot water and put the can in upside-down. I put the honey in as well. This is the get them all nice and runny to make it easier to pour. That takes about ten minutes. I watched the end of the rugby which was fantastic.
  Pour all of the ingredients into the fermenter. Then add 2 litres of boiling water. Mix it all up with big spoon. The smell at this point is fantastic, you get all that beery goodness.
 Fill up the fermenter to 20 litres with cold water.
 At this point we need to check the temperature as we want it to be between 21C and 27C. Do this by adding hot or cold water up to 23 litres.
 You need to put your fermenter somewhere that it will stay between 21C and 27C. If the temperature gets outside of this range fermentation can stop all together. Some yeasts can tolerate a wider range of temperatures.
 Final thing to do is to measure the specific gravity or SG of your wort. This first measurement is know as the original gravity or OG. Beer normally starts around the 1040 mark. I was a bit worried that my honey/sugar switch but I was not too far off the mark.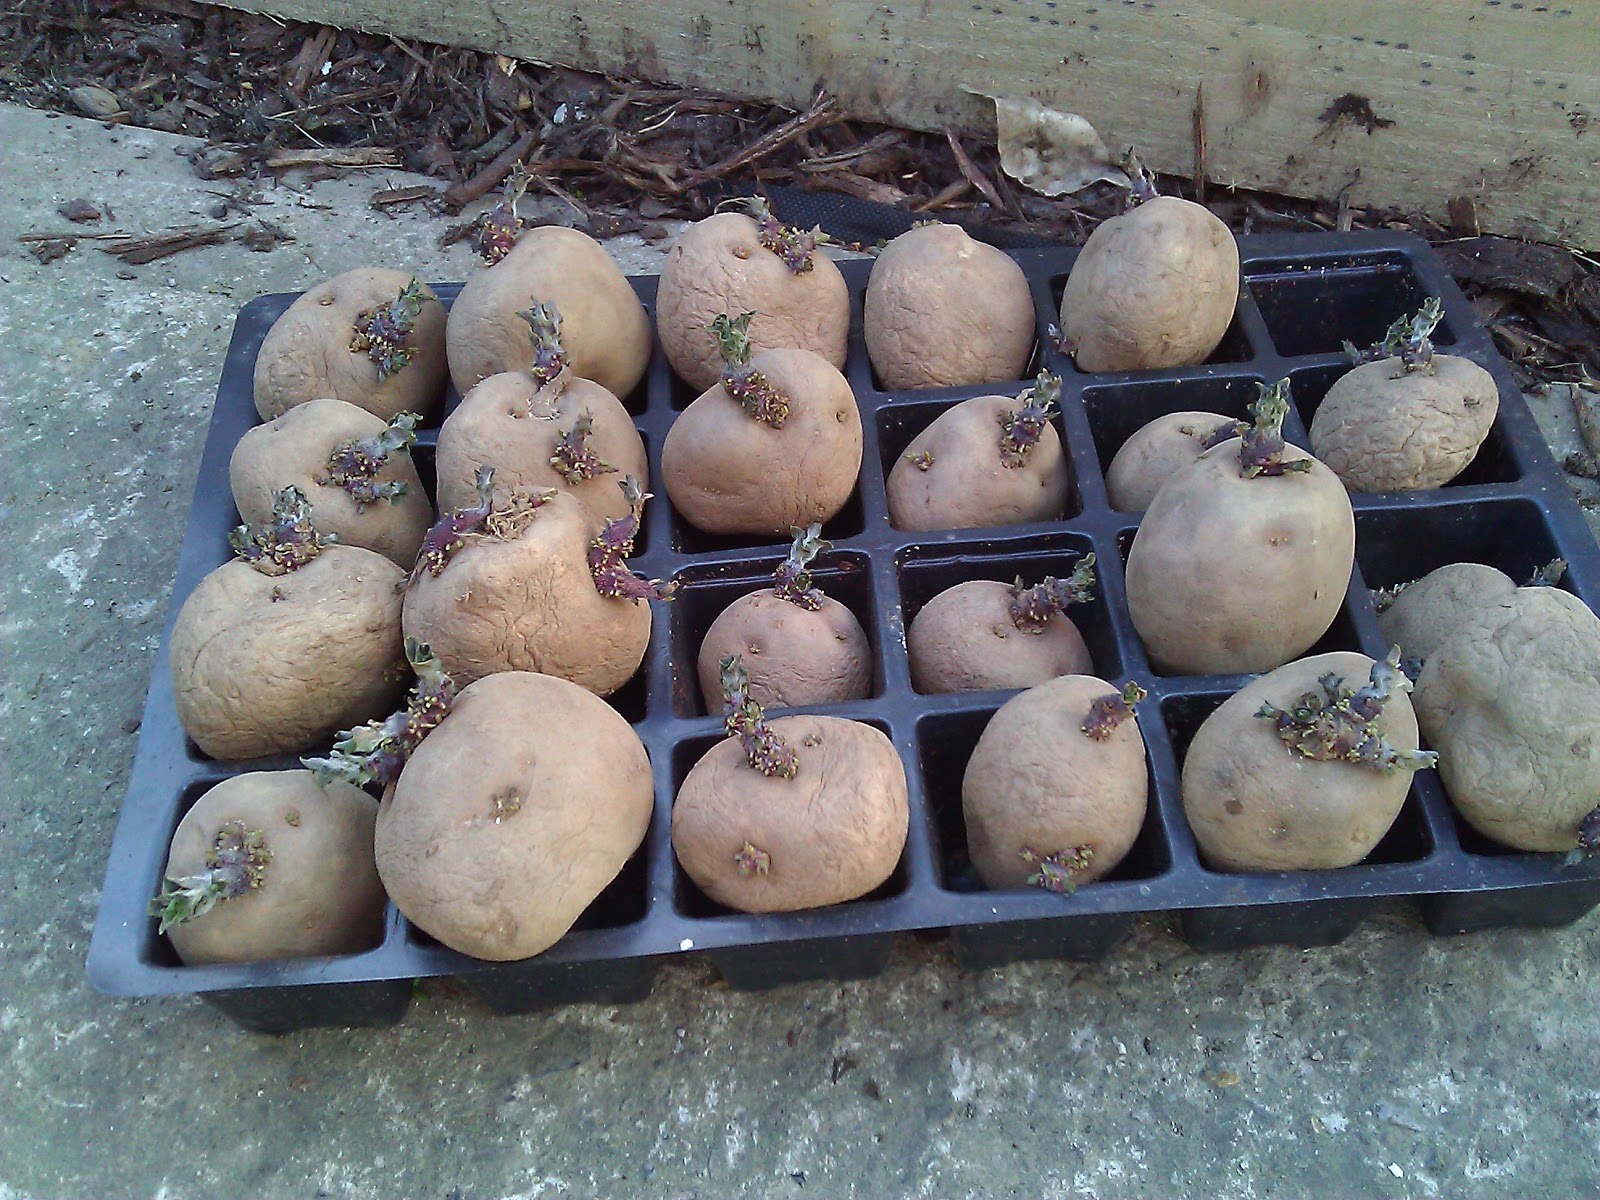

 Dug two trenches, not giving to much space to spuds this year as they are quiet space intensive. Went for one of the shadier parts of the garden, it still gets a good bit of sun but is partially shaded.
 Getting ready now to make that actual beer. One of the most important things before you go and mix your wort is to make sure that all you equipment is clean. One of main reasons for home brew not working out is that your yeast gets infected. Make sure you give everything a good clean with hot water and a cloth. Don't use any detergents or clean agents just leave em soak and the wipe them down with a cloth.
 Once everything is good a clean then you need to sanitise/sterilise the equipment. So just pile everything into the fermenter fill it hot water and some unscented bleach. Leave this for a good bit maybe a half hour. Then rinse everything with hot water to get rid of the chlorine smell as much as possible. As you can see I did it in the bath. This is the closest my beer will come to a bath I promise.


